
In this blog post, you will find two express ways to make a sketchbook. The first way is made with only folding pages inside a nice cover, the second option is a way to use up kraft paper you’ve most probably received with an order at some point.
This tutorial is a pair with Simone’s tutorial for a folding sketchbook. Go read her version as well!

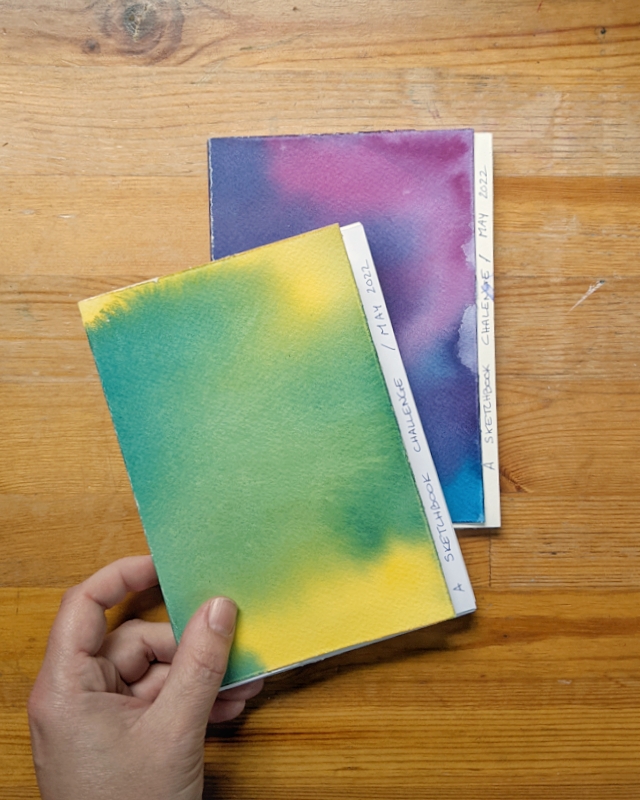
The 5 minutes folded paper sketchbook
For this version, it is very simple! You simply use folded papers and the cover acts a little like a “folder”, grouping your experiments.
I use this method quite often, when following a Skillshare class, or attending live sessions with other artists. I love this grouping of drawings and paintings. They stay organized and the little book is quite fast to make.
The 5 steps of this technique
- Choose your cover paper. You can choose a blank page you will fill out during the challenge or a piece of art you made in some other context.
- Choose papers you enjoy working with. Cut them to the size of your cover.
- Fold all the sheets in half.
- Measure the cover, thinking about the width of the pages it will contain.
- The top page of the cover will be a little shorter than the other pages. I love this because it gives me the opportunity to write the name of the class/challenge it is dedicated to.
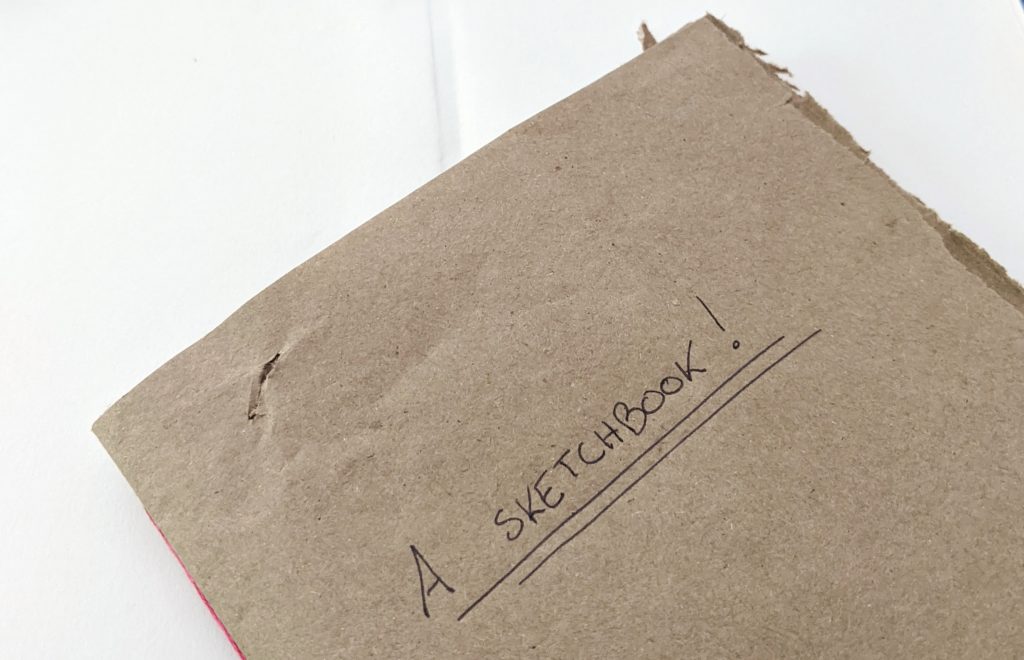
The kraft paper loosely bound sketchbook
These little books are quite quick to make, and they look wonderful. I use Kraft paper to make these, especially the ones from flowers. The almost perfect squares of these make it perfect for this process.
The steps of this technique
- Make sure the edges of the paper are roughly square. Or rectangular, but 4 straight lines help. This makes it easier to do the folds.
- Fold the paper in half.
- And then in half again.
- Keep doing this until you’ve reached the desired size for the sketchbook.
- Poke two holes in the middle with a large needle.
- Pass a thread through the first hole, bring it back in by the other one, and tie a knot with the beginning of the thread. It doesn’t need to be pretty, just to hold the pages together.
- You will need to “make the pages“. With a palette knife, or letter opener, pull apart the papers where the pages should be separate.

- After you’ve done all of the pages, you will have a beautiful tiny sketchbook ready to fill with wonderful marks and experiment.
A few tips
- When you fold the paper, make sure to really press down with a bone folder or a ruler. It really helps with ripping the paper.
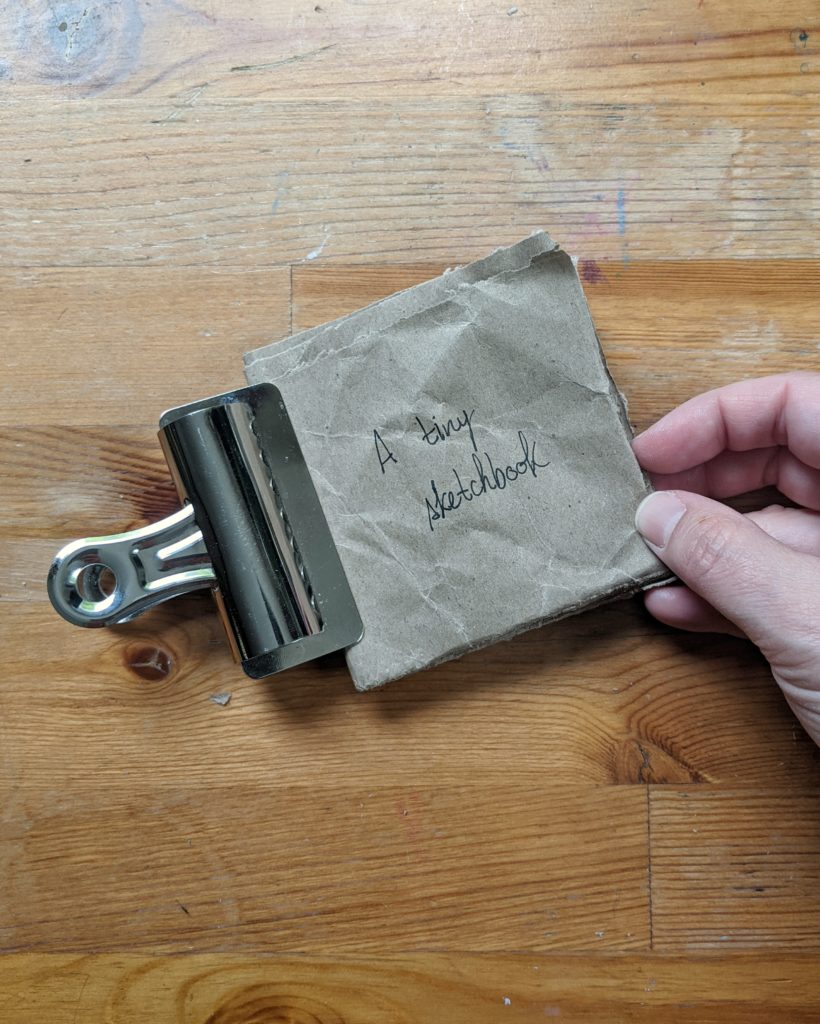
- Once your little sketchbook it done, leave it under a heavy book for a couple of days so that the main fold really holds its shape. You can also use a large paper clip.
- When you fold the paper, pay attention to ensure the tops are aligned. After a few folds, this is quite important! 😉

A few words on the May Sketchbook Challenge
This challenge will be held between May 23rd and May 27th over on @ThatCreative.space instagram page, with my lovely friend and partner in art Simone.
In this challenge we will be exploring ways to transform our sketchbook into a safe space where we are allowed to play and experiment in whatever way we like. At the end of this challenge you will have a beautiful book with ideas that you can use as inspiration in your art practice.
During this challenge, we will also have an email companion with more information about the daily prompts. You can sign-up here to get all of the information on the challenge!
More about bookbinding and sketchbook making
The tutorials I shared today are quite simple and quick to make. Perfect for slapping together a quick little book to follow a class or dedicate to an art challenge.
But you can also learn to make amazing sketchbooks of your own through tutorials and a little practice. I’ve put together a list of my favorite bookbinding tutorials over on Pinterest. A few of them are youtube videos tutorials on bookmaking, which I find really useful when understanding stitching.

One thought on “Two 10 minute sketchbook making tutorials”
Comments are closed.